
10 Nail Art Tips And Tricks For Beginners
Painting nails is a fun and therapeutic process which many of us enjoy, but do you know what is even better than this?
Nail art! We are living in an era where creativity is at its peak, so why should we settle for boring nails painted in a single colour when we can unleash our creative side and play with different types of nail arts!
Today, we are sharing simple nail art tips and tricks which you can use to make your nails look oh-so-gorgeous and trendy. Trust us when we say that these tips and tricks are very simple, most of them don't even require any special tools!
10 Nail Art Tips And Tricks For Beginners
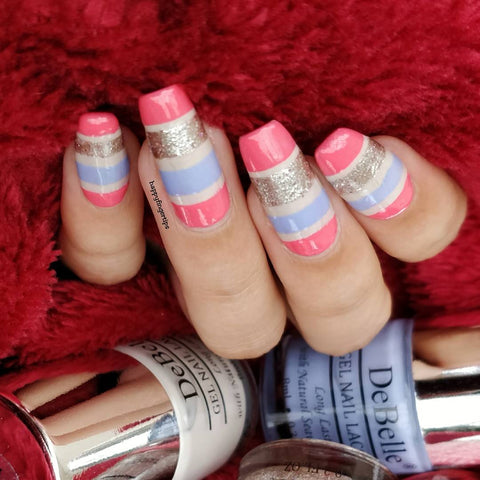
1. Accent Nails i.e. The Easiest Kind Of Nail Art Ever!

Not all of us have time and patience to do nail art, right? Accent nails are here to our rescue! Accent nail simply means adding a contrasting coloured nail polish on just one or two nails.
Women usually prefer to paint their ring finger nail with a glitter or metallic polish and choose a complimentary shade for the rest of the nails. This style is mainly popular with brides for engagement and wedding manicures because brides like to accentuate the nail with their engagement or wedding ring!
There are endless possibilities of shade combinations when you are going for accent nails. Our favourite combo for brides is French Affair paired with Sparkling Dust.
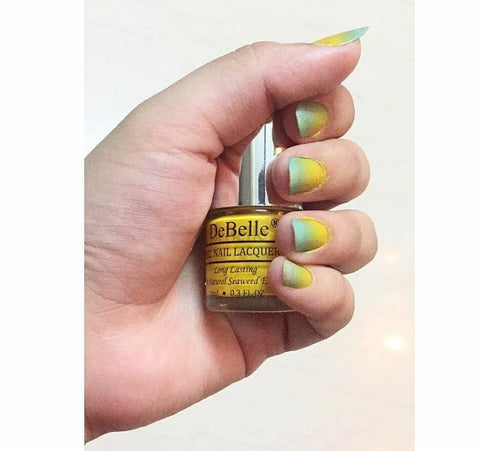
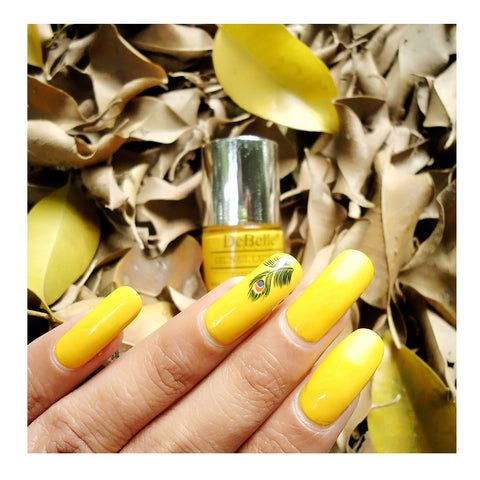
For any other events, go with this pretty teal polish from our gel nail lacquers collection called Tahiti Teal and pair it with Sparkling Dust or a funky, yellow shade like Caramelo Yellow.
2. Dotticure With A Bobby Pin
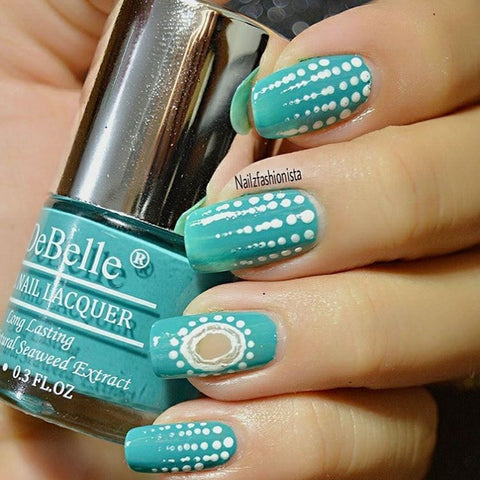
Don't have a dotting tool, but you want to sport a dotticure? You can use the edge of a bobby pin or a toothpick to create dots. For even tiny dots, you can use nib of an old pen.
3. Make Amazing Nail Art Designs With Cello Tape (Scotch Tape)
Apply a base nail polish colour of your choice and wait for it to dry. Cut small pieces of cello tape and place them on the back of your hands a couple of times to make them less sticky (otherwise they will ruin the base colour when you will put them on your nails).
Now position the tape strips on your nails as you like and apply the second nail polish colour. Remove the tapes while the nail polish is still wet to reveal the design.
4. Gradient Nails Made Easy With Sponges
When you cannot decide which nail polish colour to apply, go for gradient nails because two colours are better than one, perhaps! The steps are easy, first, apply two layers of any light coloured nail polish as a base colour.
Take a blob of the base colour and the second colour for your gradient nail art on a plastic, right next to each other. Then use a sponge to pick up both the colours and dab it on the tips of your nails 2-3 times. This step can be repeated a couple of times if you are not happy with the opacity of the colours.
5. Don't Worry About The Clean Up
Hate cleaning up the area around your nails after painting them or doing a gradient nail art? A moisturizing product like petroleum jelly or body lotion will make the clean up process much easier for you! Apply a thick coat of any moisturizing product that you might have - all over the area around your nails and paint your nails like you would normally do.
Once you are done, just wipe away the area with a Q-tip or tissue paper, it will come out easily as the moisturizer will create a barrier between your skin and nail polish!
6. Use A Loofah For Fishnet Nail Art

Next time, before you throw away an old loofah, think of this cool trick with which you can create a fishnet / scale design on your nails! Paint your nails with any base colour and cut off a piece of loofah that is big enough to go around your nail. Secure the loofah with a tape on your finger and use a sponge to apply a nail polish colour that is lighter or darker than the base colour.
7. Get Marble Effect Nails With A Plastic Wrap / Aluminium Foil
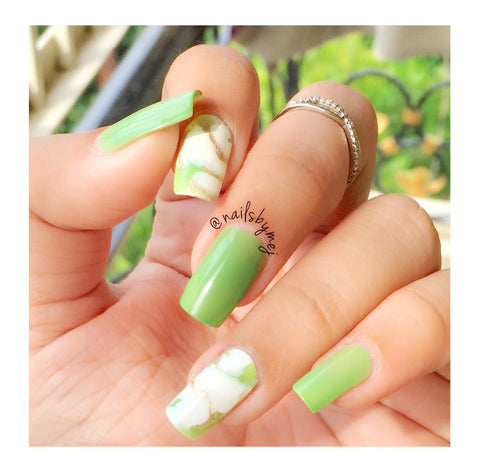
Paint your nails with a light beige colour like Natural Blush. Take a piece of plastic wrap or aluminum foil and crumple it. With the crumpled piece, pick up a darker colored nail polish (preferably a navy blue / black colour) and dab it on your nails while the base colour is still wet. Doing this will give your nails a marble effect. Nail art beginners will find this design much easier and cooler than water marbling!
8. Ditch The Boring White Colour For French Manicure
French manicure does not always have to be of white colour. You can try this popular nail art with whichever colour that you like! To do a French manicure at home, cut a piece of cello tape in a shape that will mimic your nails' smile line.
Put the tape below the smile line and apply nail paint just to the tip of your nails. Your French manicure will be ready!
9. Sticker Nail Art
This is a great hack to get the perfect trendy nail art without putting in a lot of efforts! Simply, paint your nails with a base colour and add a nail art stickers or water nail art decals on the top that are easily available in the market these days!
10. Try Fun Chrome Powder Nail Art
Chrome powder nails were all the rage throughout the year 2017!
They can be used to create endless designs of nail arts with different base colors. @ash_nail.art has used Blueberry Bliss shade from our collection as a base for her chrome powder nail art.
Which tips and tricks are you going to use to create your nail art? Tag us on instagram @DebelleCosmetix to share your creations with us!